To use camouflage netting, choose a construction suited to the job, measure the area, and hang the net from suitable supports using its designated attachment points. Adjust the coverage without overstretching the material, inspect the installation, and remove, clean, and store it according to the product instructions.
The details depend on the purpose. A garden screen, an overhead shade panel, and an indoor display do not need the same arrangement. The pattern affects appearance, while the fabric, backing, edges, and supports affect handling and installation.
This guide explains a practical process for everyday visual screening, partial shade, and decoration. At SHIJIE, we help buyers choose the net construction and finishing details before they begin installation.
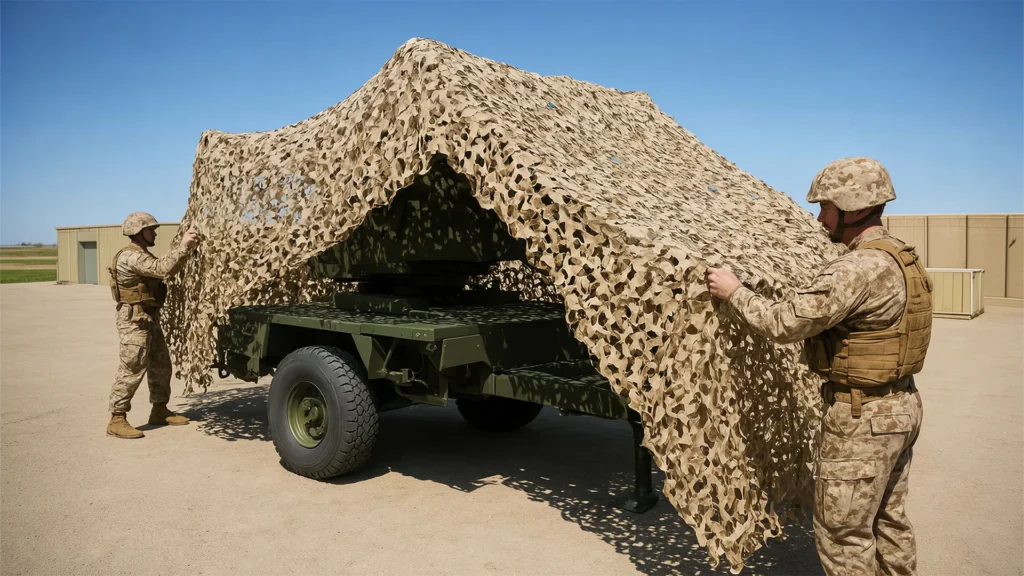
1. Decide What The Net Must Do
Start with a clear purpose. Do you want to soften the appearance of a fence, provide partial shade over seating, or create a textured backdrop?
Each use needs a different check. A privacy screen should be assessed for views through the openings. A shade net needs suitable shade-performance information. A decorative installation should meet the venue’s material and hanging requirements.
| Intended Use | Main Point To Check |
|---|---|
| Garden or patio screen | Coverage and visibility under actual lighting |
| Partial shade | Measured shade performance and suitability for the support structure |
| Film or event backdrop | Appearance, hanging dimensions, and venue requirements |
| Temporary equipment screen | Clearance for operation, access, and ventilation |
| Repeated outdoor installation | Edge construction, handling, inspection, and care |
A camouflage pattern does not establish waterproofing, flame retardancy, or specialised sensor-related performance. Request those functions separately when the project needs them.
For background on product components, see our explanation of camouflage net structure and uses.
. Choose The Right Camouflage Netting
Compare complete constructions rather than selecting only by colour. The surface fabric, backing mesh, edge finish, and attachment details should suit the planned use.
The SHIJIE CamoNet Single-Layer is an option for temporary screening and decoration. Its basic construction has no standard reinforcing backing mesh. sjxincai.com
The SHIJIE CamoNet Lite 150D combines a cut polyester surface with a supporting nylon mesh. Compare a representative sample when weight, packing, and reinforced handling matter. sjxincai.com
Match The Appearance To The Setting
Review actual colours outdoors when the installation will be outside. Green and brown may suit vegetation; muted earth tones may suit a dry background. Snow-covered and mixed winter settings need their own colour assessment.
Check both faces, the backing, and visible edges. Do not assume that every reversible-looking product has two different approved patterns.
Confirm Outdoor And Venue Requirements
Tell the supplier whether the net will remain installed, be removed seasonally, or be used for a short event. Include expected weather and maintenance access.
For indoor use, confirm the venue’s applicable flame-performance requirements. For outdoor use, confirm the product’s exposure limits. Neither a fabric grade nor a military-style appearance answers those questions.
3. Measure The Installation Before Hanging
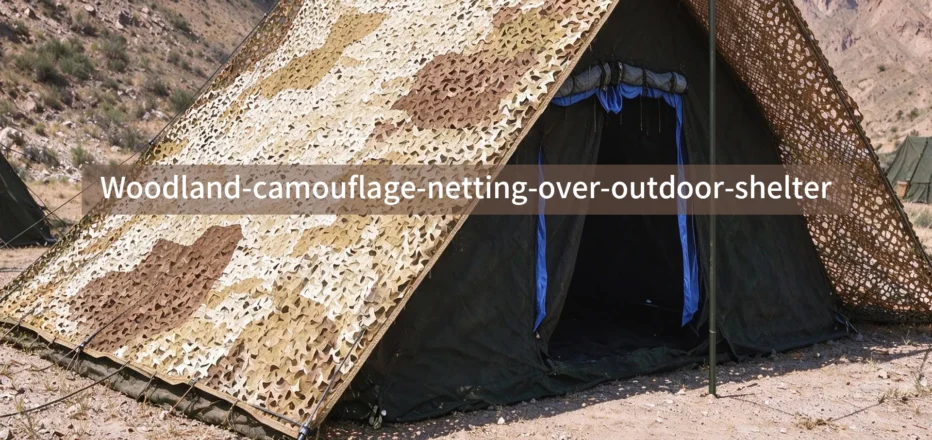
Measure the intended coverage and identify the support positions. Include any side sections, slopes, joining areas, and attachment distances shown in the proposed layout.
A flat top-view measurement may underestimate the material needed to cover a three-dimensional shape. Equally, extra material should not be added without considering where it will hang and how it will be supported.
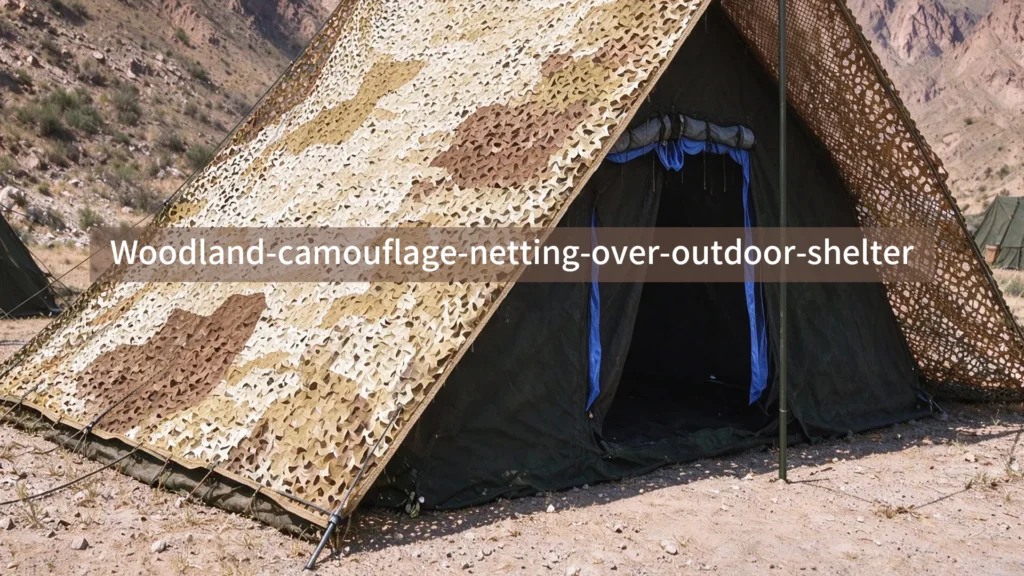
For example, a panel covering a frame’s top and sides needs to follow those surfaces. Its finished dimensions should be agreed from that layout, rather than by adding the same small margin to every project.
Record the required finished size and dimensional tolerance when ordering. For irregular shapes, send a drawing or photographs with clear measurements.
Avoid Unplanned Cutting
Check with the manufacturer before cutting a finished panel. Cutting can interrupt its backing, edge reinforcement, or attachment arrangement.
A product supplied for cutting may need specific edge finishing afterward. A reinforced ready-made panel may be better ordered in the required size. Do not assume a clean-looking cut leaves the original construction intact.
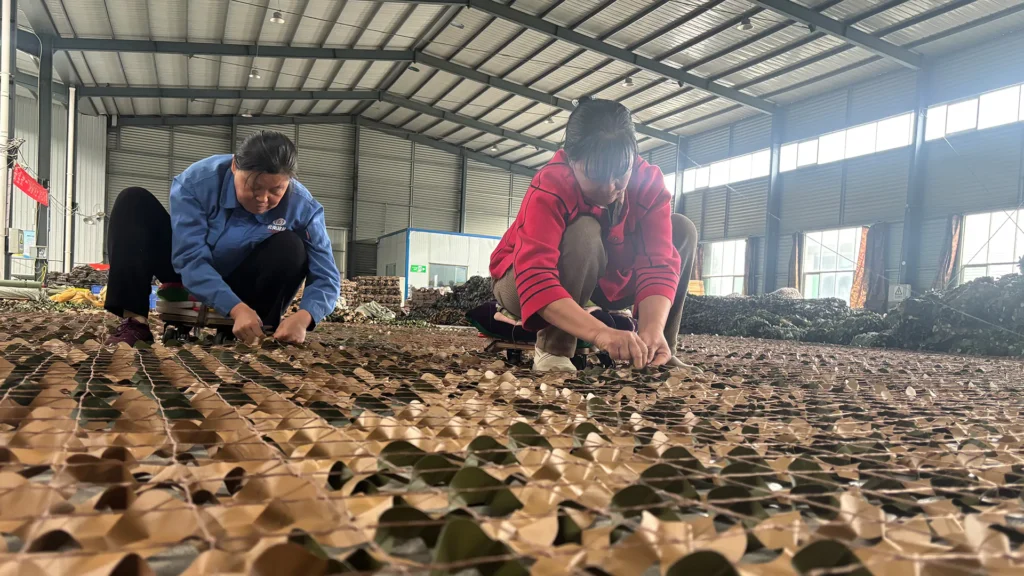
4. Prepare Supports And Fixing Equipment
Use supports and attachments suitable for the whole installation. The net’s weight is only one consideration; outdoor movement and wind can also load the system.
Prepare the specified ropes or connectors, measuring equipment, edge protection where needed, and suitable access equipment. Check for damaged cords, worn fittings, sharp contact points, and loose support components.
A branch diameter or the appearance of a roof beam does not establish its capacity. Use approved fixing locations, and have large or overhead installations assessed by someone competent to specify the supports.
Keep netting clear of hot surfaces, moving parts, electrical lines, and equipment openings that need ventilation or access. Do not cover a sensor or instrument without confirming that its function will remain unaffected.
For work above ground level, use suitable access equipment. OSHA’s ladder requirements include stable, level support unless the ladder is secured against displacement. The installation also needs to follow the requirements applicable to its own site. Occupational Safety and Health Administration
5. Unfold And Hang The Net In Stages
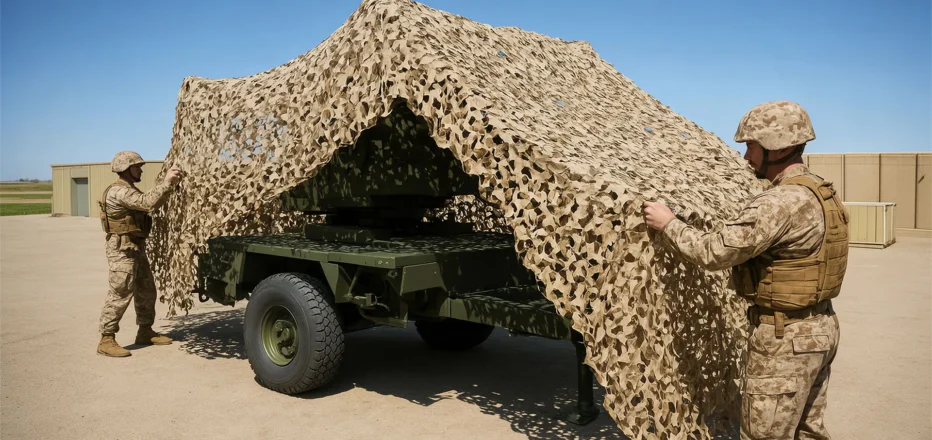
Lay the camouflage netting on a clean area before lifting it. Find the intended face, reinforced perimeter, backing, and designated fixing points. Untangle the panel without dragging it across rough surfaces.
For a larger panel, use enough people to control it during handling. Avoid opening a broad panel in conditions where the team cannot manage its movement.
Bring the first edge into position and attach it through the points specified for that product. Support the rest of the panel as you work across the planned fixing locations.
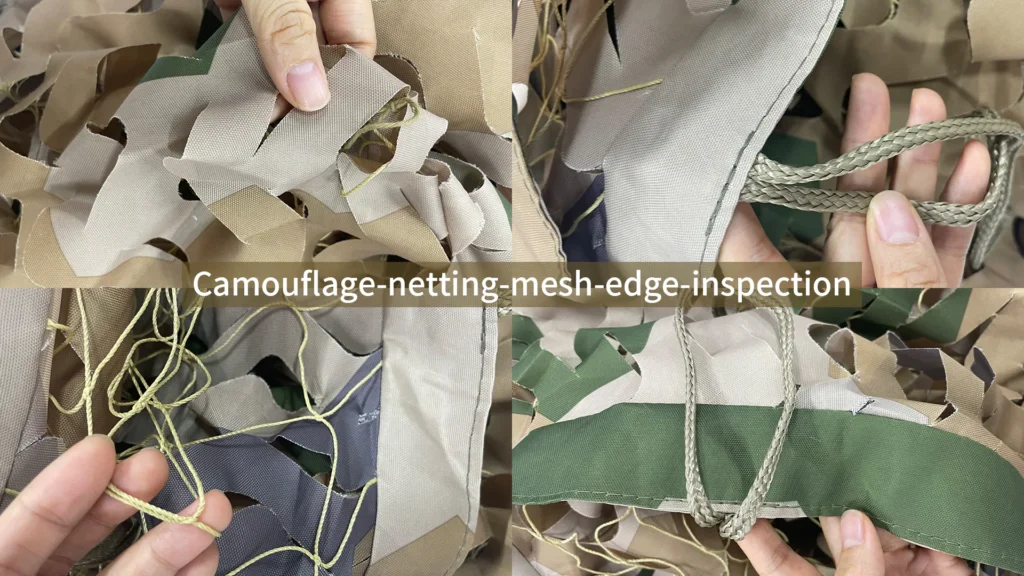
Do not use decorative cut leaves as load-bearing attachment points. Where backing mesh or another reinforced component is intended to carry the attachments, follow the manufacturer’s arrangement.
Adjust Evenly
Make adjustments across the panel rather than pulling one corner harder to reach a misplaced anchor. Remove twists and unintended folds while keeping the net’s designed surface texture.
The correct tension depends on the product and support arrangement. The goal is not to make every net as tight or as flat as possible. Stop if the fixing detail distorts or if stitching begins to open.
If a panel does not fit, check the measurements and orientation. Change the layout or obtain the correct panel rather than forcing the material to compensate.
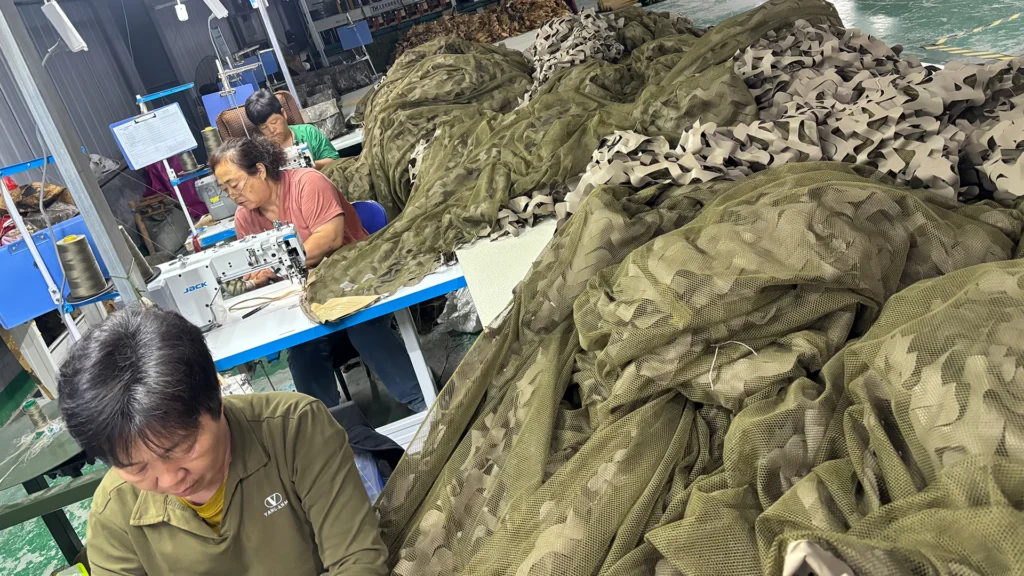
6. Check Coverage And Practical Access
Walk around the completed installation and check the result from the positions relevant to its use. For a garden screen, review the view from neighbouring paths and the seating area. For a backdrop, check the intended camera view.
Lighting can change what is visible through a net. A screen that provides useful daytime privacy may reveal more when the area behind it is brightly lit at night.
For shade, observe where the shaded area falls during the period of use. A pleasing pattern does not replace a suitable shade specification.
Keep entrances, routes, controls, and maintenance access usable. Secure loose ends so that they do not create avoidable snagging or tripping problems.
If the appearance needs improvement, first review the chosen panel, orientation, and positioning. Do not apply unapproved paint, solvents, or other treatments. They may affect the finish or specified properties.
7. Inspect Before Use And After Changes
Check the net, supports, and attachments before opening the area for its intended use. Look for local damage as well as overall alignment.
| Check | What To Look For |
|---|---|
| Surface and backing | Tears, detached pieces, or damaged mesh |
| Reinforced edges | Open stitching, fraying, or distorted attachment areas |
| Ropes and connectors | Wear, loose connections, or unsuitable contact points |
| Supports | Damage, movement, or a condition outside the approved arrangement |
| Clearance | Contact with heat, moving parts, electrical hazards, or blocked access |
A visual inspection is not a structural load test. Do not improvise a proof test by pulling or shaking the installation.
Repeat checks after relocation, significant weather, or another event identified in the maintenance plan. Remove a temporary installation when conditions exceed its approved limits, using the planned removal procedure.
Our guide to camouflage netting lifespan explains how exposure, rubbing, handling, and condition affect continued use.
8. Take Down, Clean, And Store Correctly
Plan recovery so the net stays controlled as its connections are released. Gather and support sections instead of letting the panel fall or dragging it away while attachments remain connected.
Separate hard fittings and sharp accessories from the fabric. Inspect recurring wear near supports so the next installation can address the cause.
Remove loose debris carefully. Wash only by a method approved for the material and finish. Do not assume pressure washing, strong detergents, or chemical cleaning are suitable.
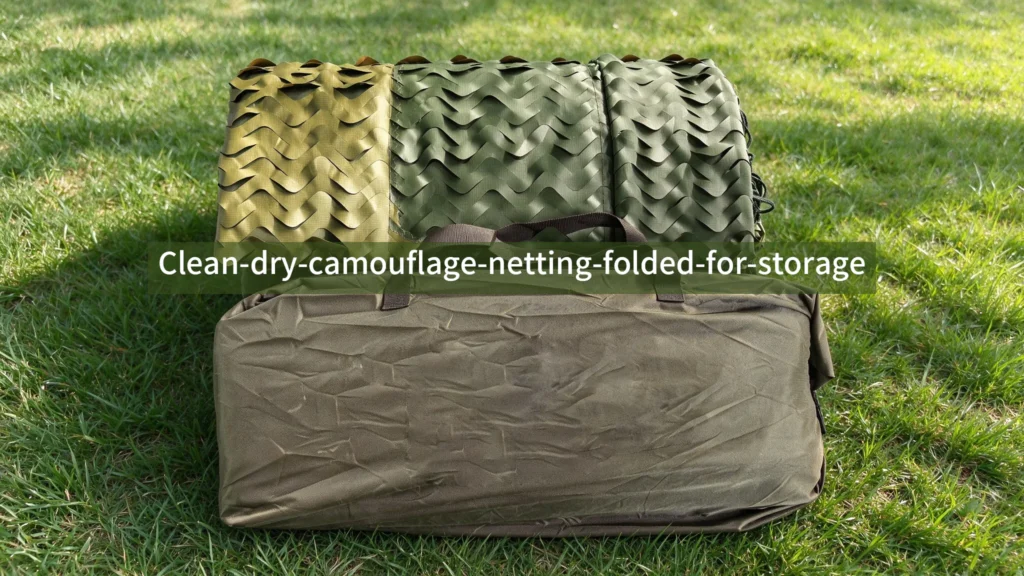
Dry every layer, edge, and cord before packing. Fold or roll the panel as recommended, label its size and condition, and store it away from sunlight, heat, sharp objects, and incompatible chemicals.
A damaged panel should be identified before it returns to storage. That prevents someone from selecting it for the next installation without knowing its condition.
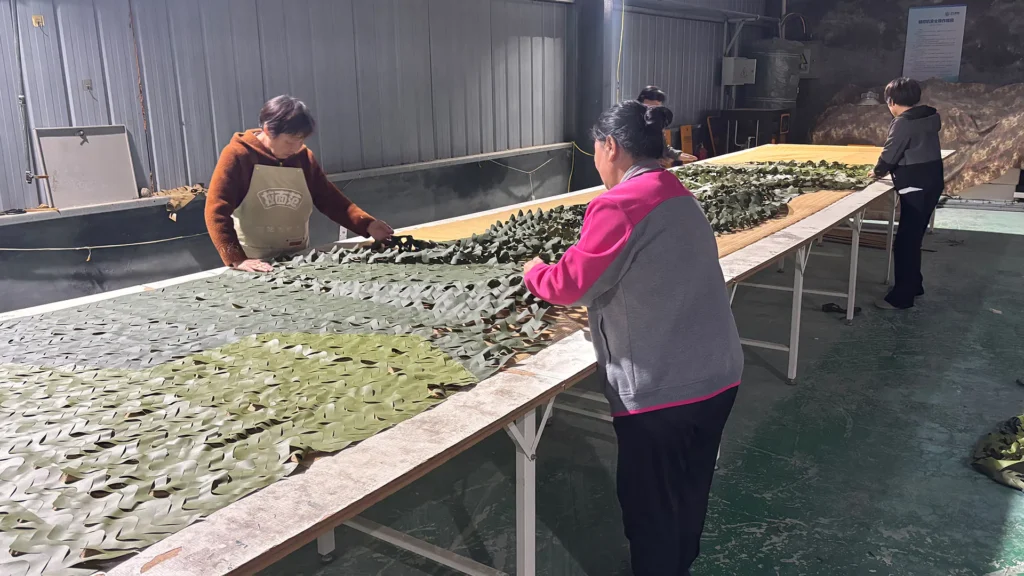
Common Mistakes To Avoid
Several problems can be prevented before hanging begins:
- Buying from a photograph alone: Confirm the actual construction and attachment details.
- Measuring only the covered object’s footprint: Include the planned shape and support arrangement.
- Pulling on decorative fabric: Use the designated load-carrying attachment components.
- Assuming open mesh has no wind load: Check the complete outdoor installation.
- Cutting or painting without approval: Confirm compatibility and required finishing first.
- Packing damp material: Allow the entire panel to dry before storage.
For broader specification guidance, read our camouflage netting buyer’s guide.
How SHIJIE Helps You Prepare The Right Order
At SHIJIE, we help buyers define the netting before they plan its use. Shandong Shijie New Materials Technology Co., Ltd. supplies different materials, colours, structures, dimensions, and finishing options.
Our camouflage net range provides a starting point for comparing lightweight, backed, and multi-layer constructions. SHIJIE
Send the intended purpose, coverage drawing, exposure conditions, installation frequency, quantity, and required tests. Include edge details and attachment requirements where already specified.
We can review available product options and discuss a representative sample. Confirm the supply scope separately for any ropes, hardware, supports, or installation services needed by the project.
Frequently Asked Questions
Can I Hang Camouflage Netting On A Fence?
It can be considered where the fence and connections are suitable for the added loads. Confirm the installation details and exposure conditions before attaching the net.
Should I Stretch The Net Completely Flat?
Follow the product instructions. Avoid excessive tension and preserve the intended construction. A cut-leaf surface does not need to be flattened into a solid sheet.
Can Camouflage Netting Replace A Waterproof Roof?
Open netting allows rain through its openings. A water-resistant fabric treatment does not make the complete net a continuous waterproof roof.
Can I Leave It Outdoors Permanently?
Only when the selected product and installation suit that exposure. Confirm use limits, inspection requirements, and removal arrangements with the relevant suppliers.
Use The Right Net With A Planned Installation
Good use of camouflage netting starts before hanging. Choose the construction for the purpose, measure the complete layout, and use suitable supports and designated fixing points.
Inspect the result, keep access clear, and care for the material after use. Learn more about SHIJIE and send your project requirements to discuss suitable netting and custom panel options.