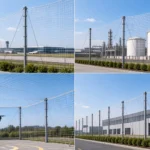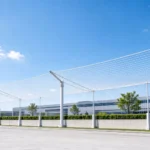

To build a freely assembled anti-drone net, start with an approved layout, divide the required coverage into manageable panels, and specify compatible edges, connections, and supports. Assemble the selected components according to the project drawings, then inspect the complete installation before use.
The benefit of a modular approach is flexibility. Separate panels can be identified, transported, connected, and replaced as the project requires. It can also make a large order easier to pack and manage.
At SHIJIE, we supply custom netting that can form part of a project-specific barrier. This guide explains how buyers can turn a modular concept into a clear panel specification and assembly plan.
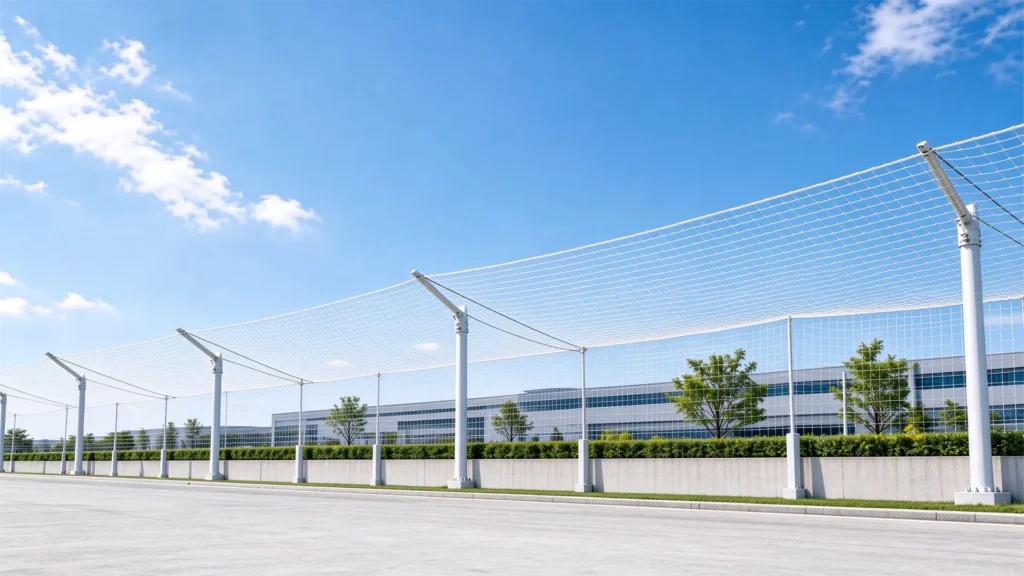
What Does A Freely Assembled Anti-Drone Net Mean?
Here, “freely assembled” means a system planned around separate net panels that can be combined in agreed configurations. It does not mean that any panel, clip, or support can be mixed without review.
The panels need compatible dimensions and connection details. Their supporting structure must suit the complete installation, including its expected loads and outdoor conditions.
A passive net works through physical contact rather than radio-frequency interference. The net fabric itself requires no electrical power. Any separate monitoring or access-control equipment has its own requirements.
The SHIJIE Anti-Drone Net is offered in nylon or polyester, with knotted or knotless construction, reinforced edges, and custom panel dimensions. These are supply options for developing a project specification, not a universal performance rating.
Step 1: Define The Purpose And Coverage
Begin with a clear application brief. A drone-testing enclosure, a controlled facility, and a temporary event structure can have different operating and access needs.
Provide a measured drawing of the proposed area. Mark the boundaries, existing supports, access points, and any restrictions on installation. Include the intended duration and whether the net will be moved or reassembled.
The project designer should establish which surfaces need netting and how the supports, panels, and openings work together. A top-view area measurement alone does not describe a complete enclosure.
Also define what the system must demonstrate. Material dimensions, finished construction, and any required mechanical or barrier performance should have separate acceptance criteria.
This gives the manufacturer a useful starting point. It also prevents a quotation for loose netting from being mistaken for a complete engineered installation.
Step 2: Create A Modular Panel Schedule
A panel schedule turns the layout into an orderable list. Give each panel a reference and record its finished dimensions, quantity, orientation where relevant, and edge requirements.
Use repeated panel sizes where the layout allows. Repetition can simplify packing and spare-part planning. Custom panels may still be needed around approved openings or irregular sections.
| Schedule Item | Information To Record |
|---|---|
| Panel reference | A unique identifier matching the layout drawing |
| Finished size | Agreed width, length, and dimensional tolerance |
| Material | Nylon or polyester, with the selected construction |
| Mesh | Nominal size and agreed measurement definition |
| Edges | Reinforcement and connection requirements |
| Quantity | Installed panels and any agreed spares |
| Packing | Label, bag or bundle reference, and handling requirements |
Choose panel sizes that suit the planned handling and storage arrangements. The largest possible panel is not automatically the most practical choice.
If the layout changes later, revise the schedule and connection drawing together. A modular design stays useful when changes are controlled rather than improvised.
Step 3: Specify The Net Material And Construction
The material choice should reflect the project’s performance requirements and exposure conditions. SHIJIE’s listed options provide a starting point for sample discussion.
| Feature | Listed SHIJIE Options | What To Confirm Before Ordering |
|---|---|---|
| Fibre | Nylon, also called polyamide, or polyester | Finished material specification and relevant test data |
| Mesh size | 5 × 5 cm, 10 × 10 cm, or 15 × 15 cm | How the opening is measured and its tolerance |
| Cord diameter | 0.5 mm or 1 mm; custom options by enquiry | Diameter measurement and required mechanical properties |
| Construction | Knotted or knotless | Finished sample, handling, and connection details |
| Perimeter | Reinforced edge finishing | Exact reinforcement and attachment specification |
| Colour | Military green | Approved colour and any project-specific requirement |
| Panel dimensions | Custom sizes | Finished dimensions and panel identification |
These figures describe available manufacturing options. They do not establish which drone, impact, or installed load a particular assembly can withstand.
Nylon Or Polyester?
Nylon is worth discussing when flexibility and impact-related material behaviour are priorities. Polyester is another option for projects that need to address outdoor exposure and cost.
Ask for information about the actual supplied construction. Fibre names alone do not prove UV resistance, weathering life, breaking force, or complete-system performance.
Include the expected sun, moisture, temperature, and storage conditions in the enquiry. Any protective finish or exposure requirement should be agreed explicitly.
Knotted Or Knotless?
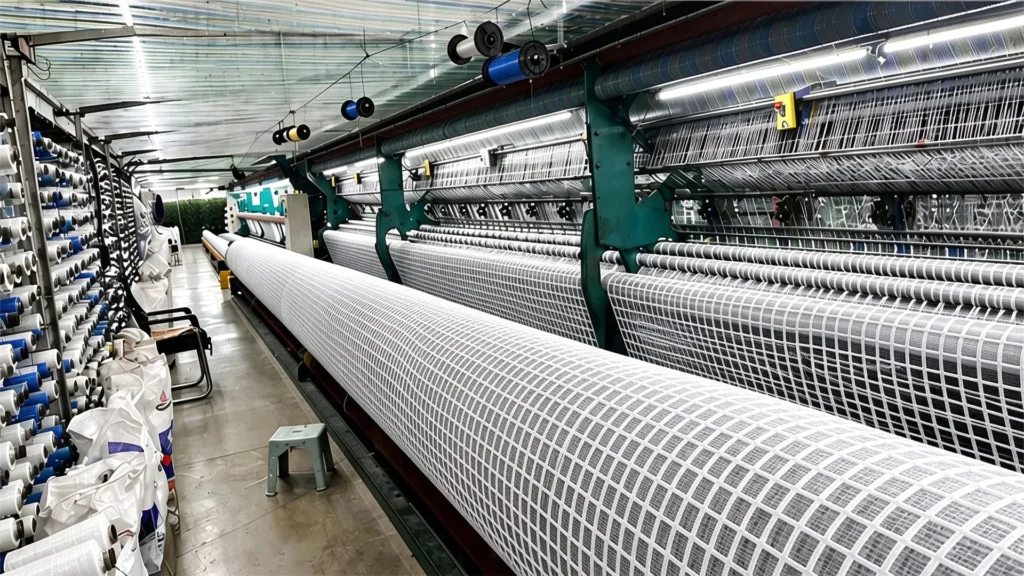
Both constructions are available. Compare a representative sample for mesh consistency, handling, edge integration, and the required mechanical properties.
A close-up photograph can show the basic structure. It cannot establish the strength of every intersection or the behaviour of the complete panel.
Also clarify mesh terminology. A stated size may describe a clear opening or a different reference dimension. Use the same definition on the drawing, quotation, and inspection record.

Step 4: Agree On Connections And Supports
Connections are central to a freely assembled anti-drone net. A well-made panel still needs an agreed method of joining to the next panel and attaching to its support.
Ask the project designer and supplier to define the edge arrangement, joining components, attachment locations, and replacement method. Confirm how the finished connections will be inspected.
Our listed netting options include reinforced edges. A connector kit or supporting frame requires separate confirmation. Establish what is included in the netting quotation and what must be supplied separately.
Do not assume that ordinary cable ties, decorative clips, or an existing fence are suitable structural connections. The selected components must match the approved system design.
For component testing, ISO 2307:2019 describes methods for determining certain physical and mechanical properties of fibre ropes. Its relevance must be checked for the particular component. A rope-test result is not certification of the complete barrier.
Review The Full Assembly
The support structure, anchors, connectors, edges, and mesh form a connected system. A stronger cord does not correct an unsuitable support or weak connection.
Outdoor mesh can still place loads on a frame. If another covering is added, the designer should review the combined assembly rather than assuming the original support requirements remain adequate.
Confirm these details before production. It is easier to make the panel edges match an approved connection design than to modify finished panels on site.
Step 5: Approve A Representative Sample
Review a sample that represents the intended material, mesh, cord, and edge finish. Where the connection design matters, include a representative panel joint in the approval process.
Check dimensions using the agreed measurement condition. Review the reinforcement, intersections, loose ends, labels, and packing method.
Record which parts of the sample are approved and which remain subject to further testing. A visual sample approval and a verified mechanical rating are different decisions.
If the project requires an impact or containment rating, define the professional test procedure and acceptance criteria for the relevant configuration. Do not derive that rating from mesh size or cord diameter alone.
At this stage, freeze the approved specification or issue a controlled revision. Production and site teams should work from the same version.
Step 6: Assemble According To The Approved Layout
Before assembly, check the delivery against the panel schedule. Identify each panel and separate any item that does not match the approved description.
Prepare the supporting structure and connection components according to the project instructions. The installation team should use the specified access equipment and assembly procedure.
Position and connect panels in the sequence shown on the drawing. Confirm panel orientation, joining details, and designated openings as the work progresses.
Do not stretch a panel simply to compensate for an incorrect measurement. If a connection does not fit, stop and resolve the mismatch against the approved drawing.
A freely assembled anti-drone net should remain traceable after installation. Keep panel references readable or record their positions on the as-built layout. This makes inspection and later replacement easier.
Any change to the configuration should be reviewed before use. The ability to disconnect panels does not establish that every new arrangement has the same performance.
Step 7: Inspect And Plan For Replacement
Complete an installation inspection before handing over the system. Compare the assembled layout with the approved drawing and record any agreed changes.
The inspection should cover:
- Correct panel identities and positions.
- Finished joints and attachment components.
- Mesh, edges, and connectors without visible damage.
- Approved access arrangements and openings.
- Supporting structure and installation checks required by the designer.
- Required documentation and acceptance records.
An assembly inspection confirms that the installation matches its instructions. It does not replace any separately required performance testing.
Set inspection intervals for the actual service conditions. Check again after an impact, significant weather event, relocation, or other event identified in the maintenance plan.
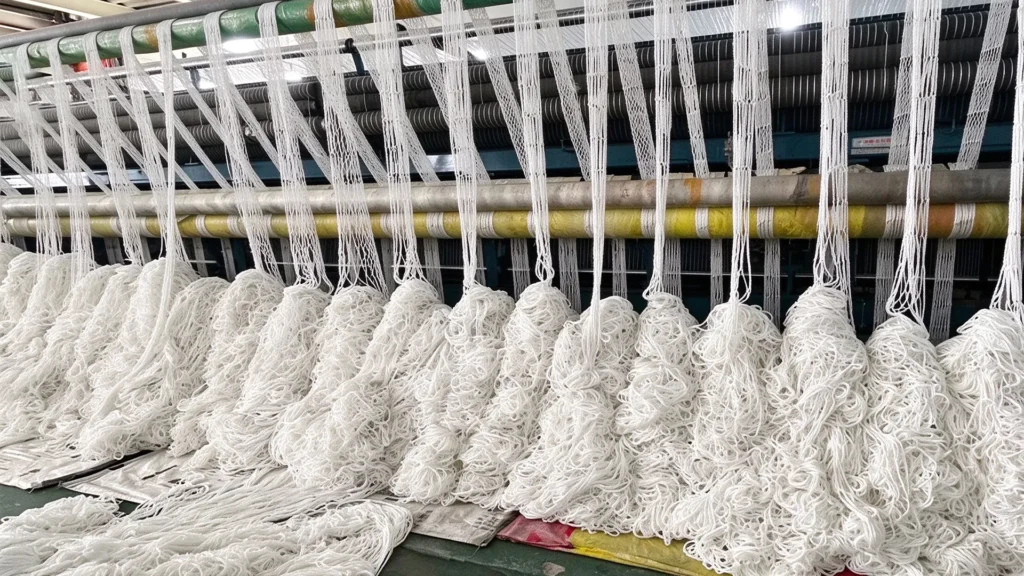
Keep replacement panels to the approved specification. Record repairs and substitutions so that an apparently similar spare does not introduce a different material or connection detail.
Can The System Include Camouflage Netting?
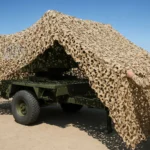
An anti-drone barrier and a camouflage screen have different functions. One is specified as a physical barrier; the other changes visual appearance.
Our explanation of camouflage net structure and uses describes the visual-screening role. The SHIJIE camouflage net range provides related material and construction options.
If a project needs both functions, review them as a combined installation. Confirm visibility, access, handling, and the effect of the additional material on the supports. A camouflage layer does not automatically add a verified drone-barrier rating.
For the separate screening layer, our guide to choosing and using camouflage netting offers further buying and care considerations.
What Should You Send SHIJIE For A Quotation?
At SHIJIE, we can review a freely assembled anti-drone net enquiry around the required panels and material specification. Shandong Shijie New Materials Technology Co., Ltd. supports custom netting and related textile products for project buyers.
Send the layout or panel schedule, intended application, preferred fibre, mesh definition, cord diameter, construction, quantity, exposure conditions, and destination. Include edge details and any approved connection drawing.
Also identify the required tests, acceptance criteria, packing, and spare-panel needs. State whether you are buying net panels only or requesting discussion of additional components.
Our textile and mesh manufacturing capabilities provide a basis for custom product discussion. Available hardware, installation services, and test evidence must be confirmed in the quotation rather than assumed to be part of the standard net supply.
Frequently Asked Questions
Can The Panels Be Reassembled Into Another Shape?
Custom panels can support modular planning. A new arrangement still needs compatible connections and a suitable support design. Review changes to the approved configuration before use.
Does The Net Need Power?
The passive net itself does not need electricity or generate radio-frequency interference. Separate monitoring or other equipment has its own power requirements.
Which Mesh Size Is Best?
There is no universal choice based on the catalogue dimensions alone. Define the application and required performance, then evaluate the proposed construction and evidence.
Are Frames And Connectors Included?
They should not be assumed. Confirm the complete supply list, component specifications, and responsibilities before placing the order.
Can One Damaged Panel Be Replaced?
That can be a benefit of an approved modular design. Use a replacement with the agreed material, dimensions, edges, and connection details, and record the substitution.
Build Around A Clear Panel Specification
A freely assembled anti-drone net begins with an approved layout and compatible components. Define the material, panel schedule, reinforced edges, joining details, supports, and inspection requirements before production.
Learn more about SHIJIE and send your panel requirements for a quotation. A representative sample and a clear supply list make the proposed system easier to assemble, maintain, and reorder.